NRD Studio制作人物关系图流程的最佳实践
2021-04-10
NRD Studio关系图数据和图谱相对独立,推荐制作流程:
快速构建->头像管理->细化样式->导出
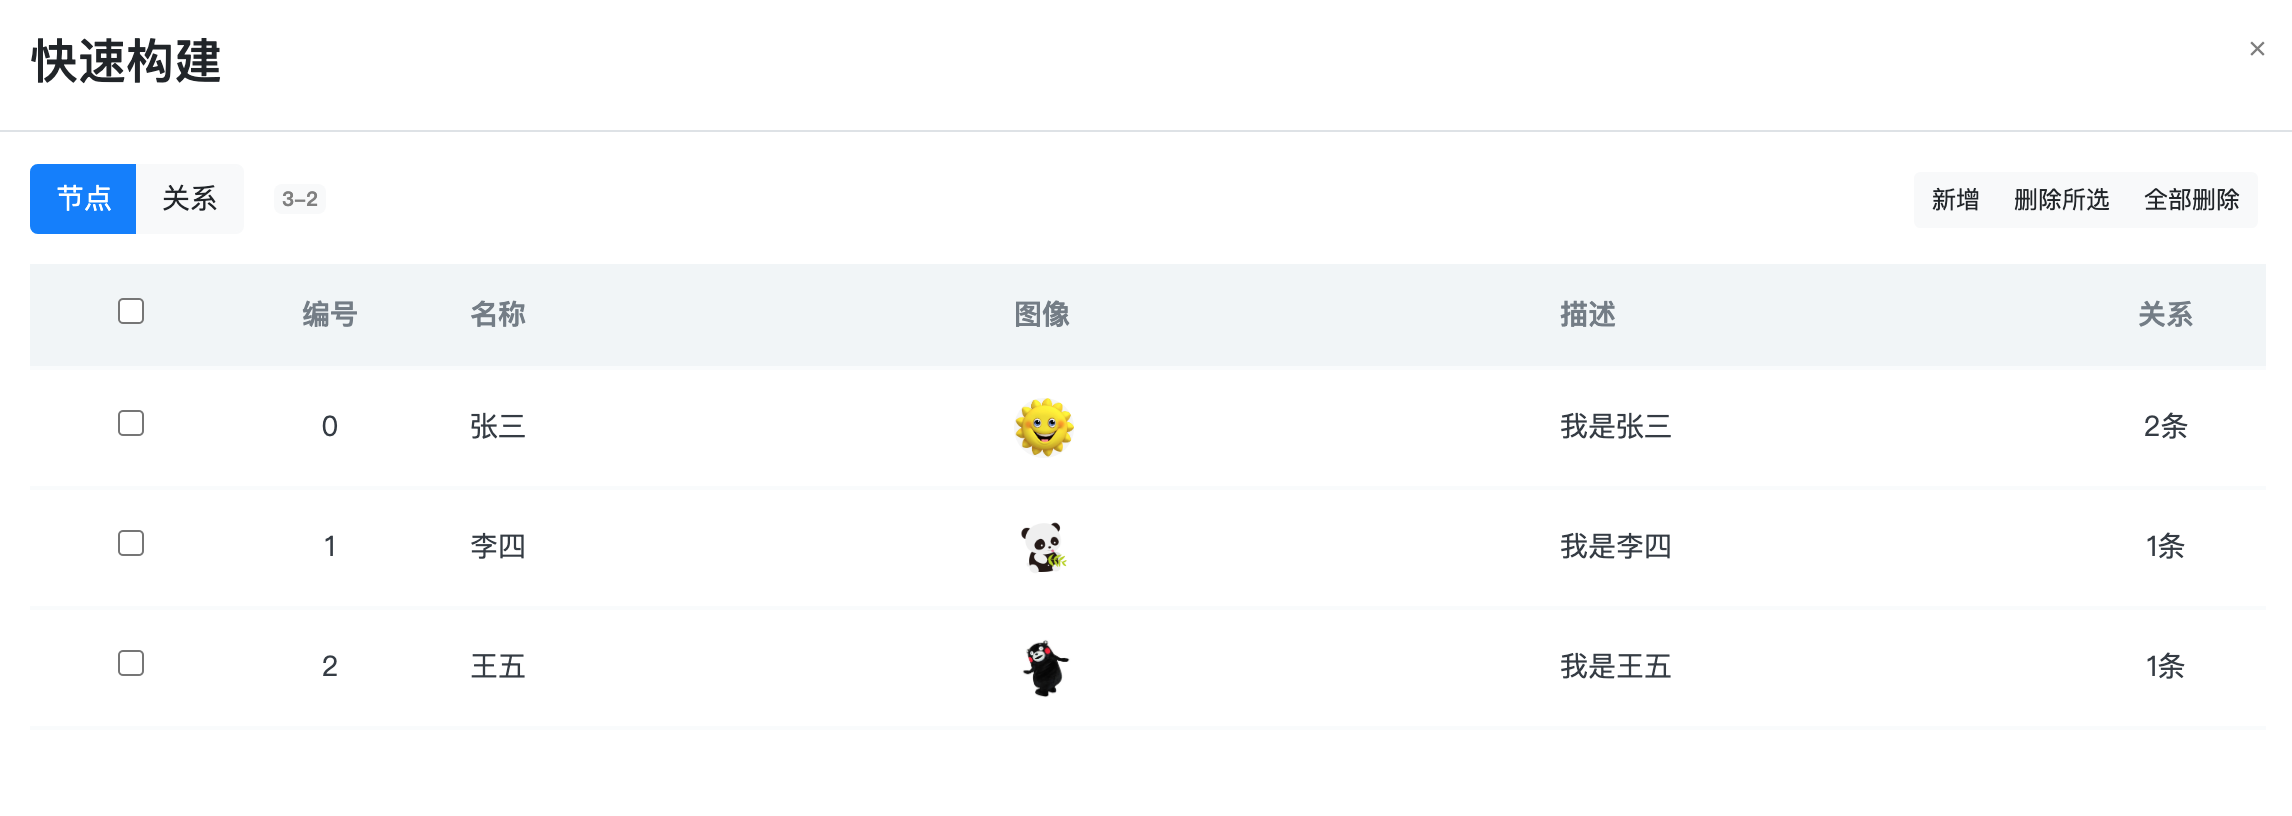
快速构建
【快速构建】用于基础数据导入,填写必备的人物名称和关系数据。
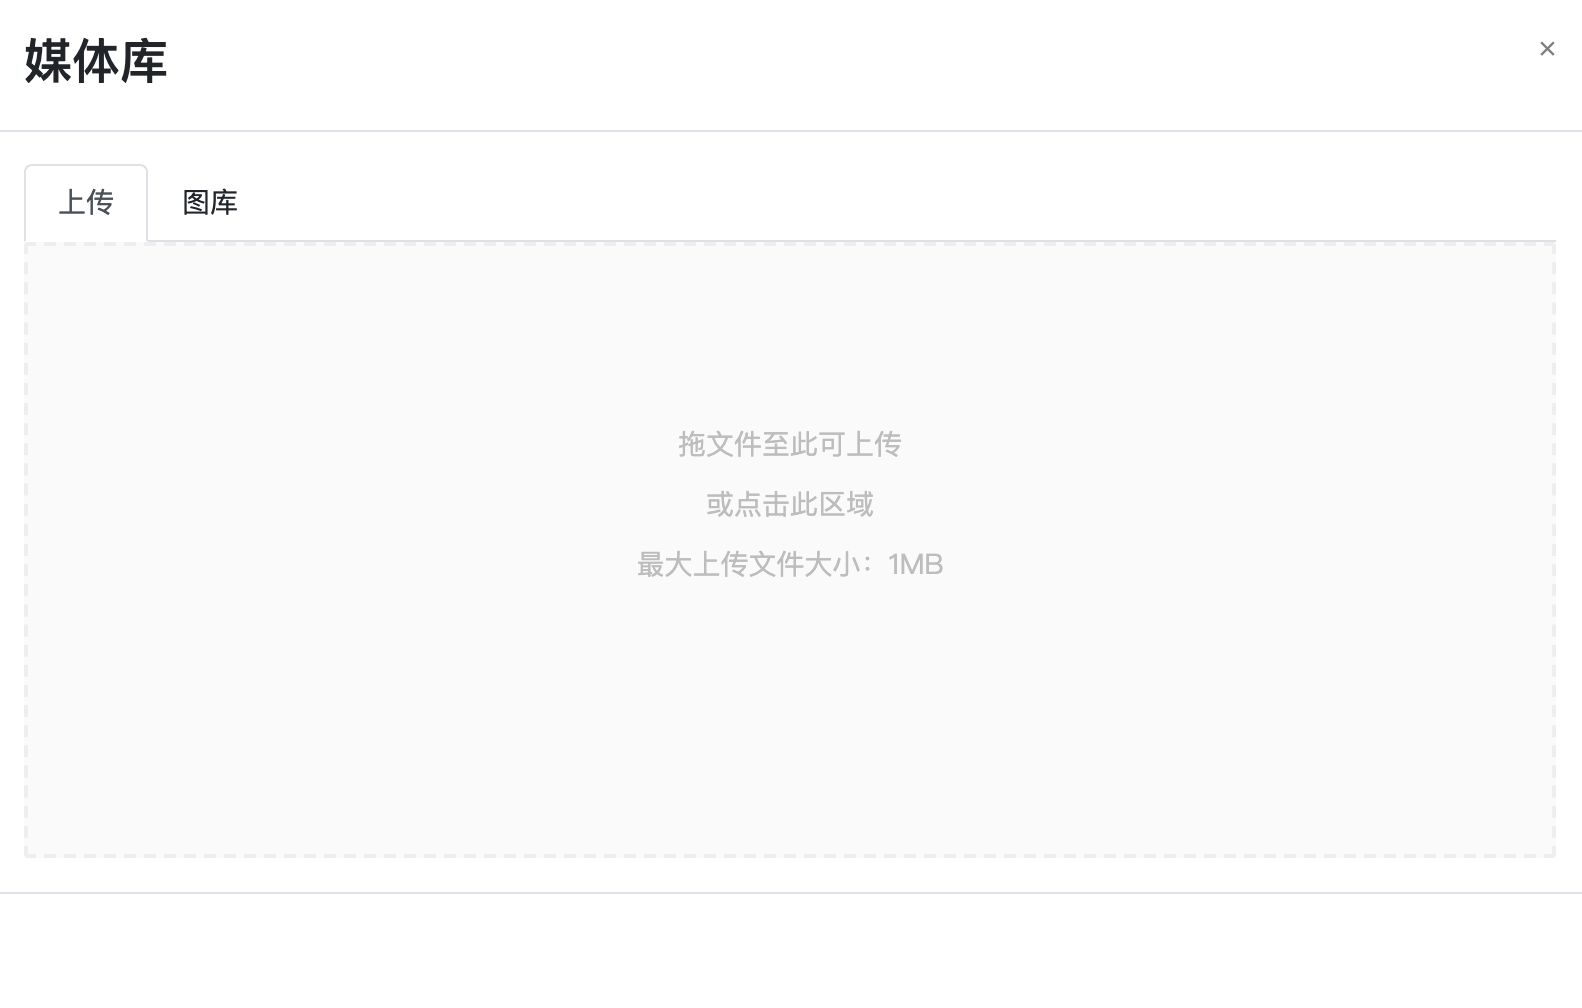
头像管理(可选)
通过【媒体库】上传和选择图片资源,配置人物头像。
如果不需要头像,可使用无图模式,人物节点用矩形框显示。
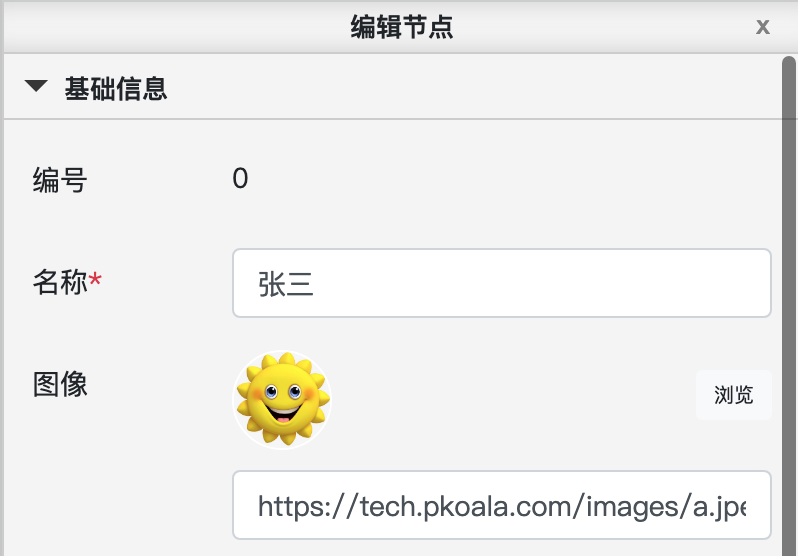
细化样式(可选)
侧边栏列表,单独配置人物额外属性,如名称颜色等。
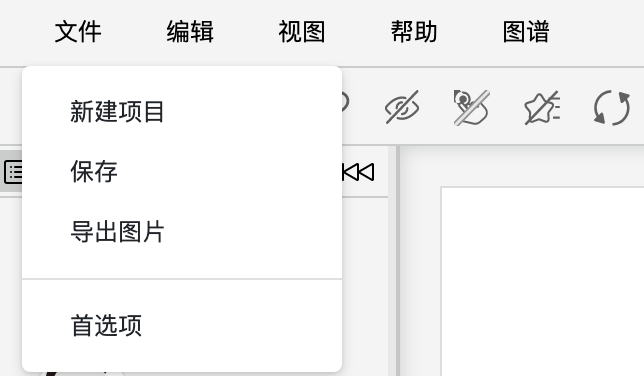
导出
菜单栏【文件】->【导出图片】。
当然,手动截图也未尝不可。